2. Install SKYVVA
Learning Objective This unit describes:-
- The Installation process of the SKYVVA Integration Suite.
Introduction
This tutorial is an installation guide for Skyvva. The purpose of the tutorial is to introduce the product or component to be installed. This guide covers the installation of the system and its related components like update the Skyvva license key. Please update the sample text to your system requirements.
Identification
- You can identify by title SKYVVA.
- You can identify the Skyvva by its version number and release number.
Point of contact
- For troubleshooting, you can send a mail to support@skyvva.com
Pre-Installation Requirements
The following prerequisites and requirements must be satisfied in order for the [product] to install successfully.
- You should have your salesforce organization. Create your salesforce organization from https://developer.salesforce.com/
- You should have your organization login credentials with salesforce I,e username and password
- Skyvva Integration suite installation link.
Installation Steps
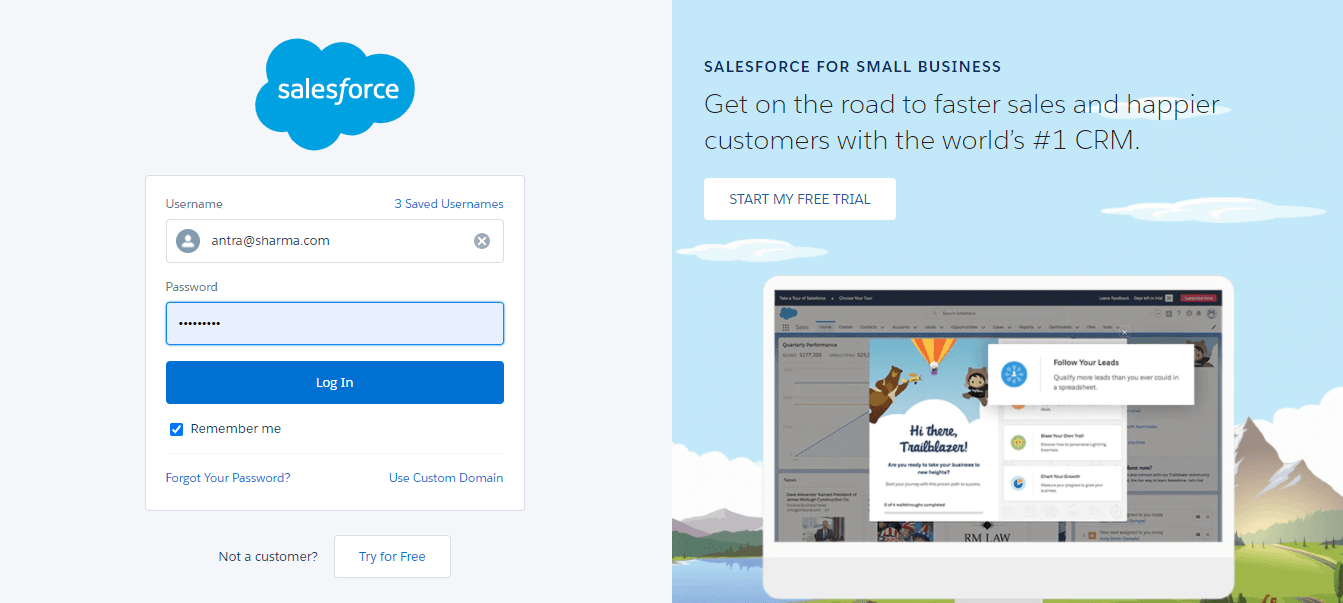
Step 1: Login with salesforce organization Login with salesforce using valid credentials where the package has to be installed (https://login.salesforce.com).
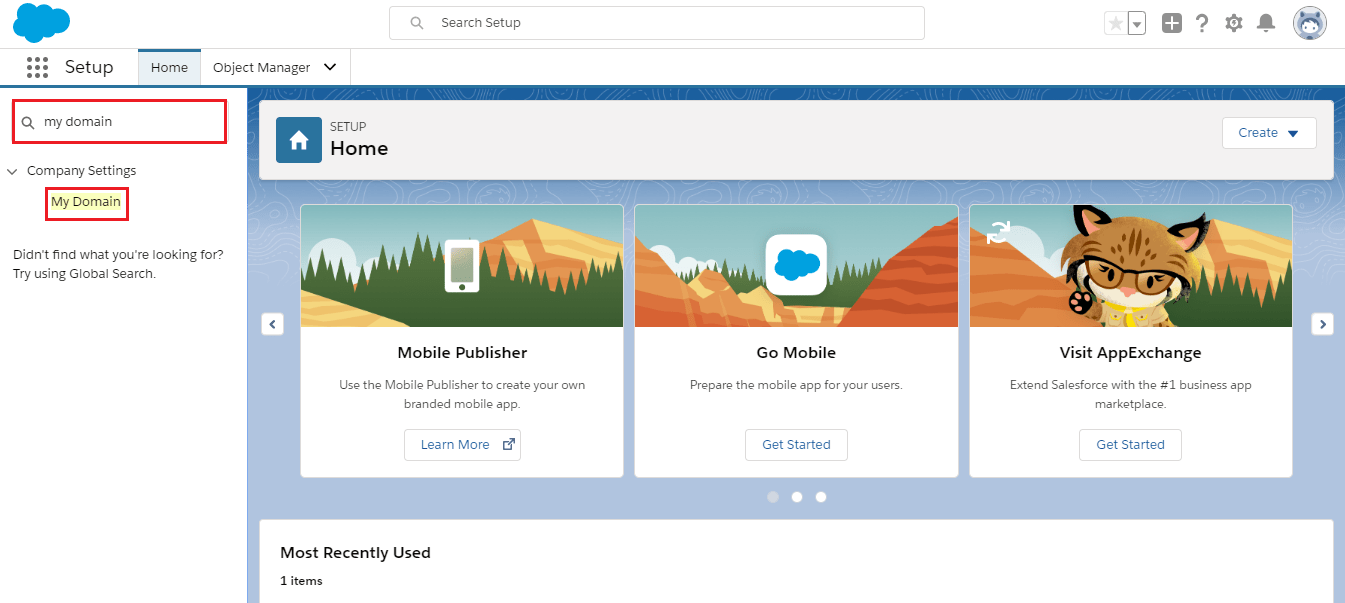
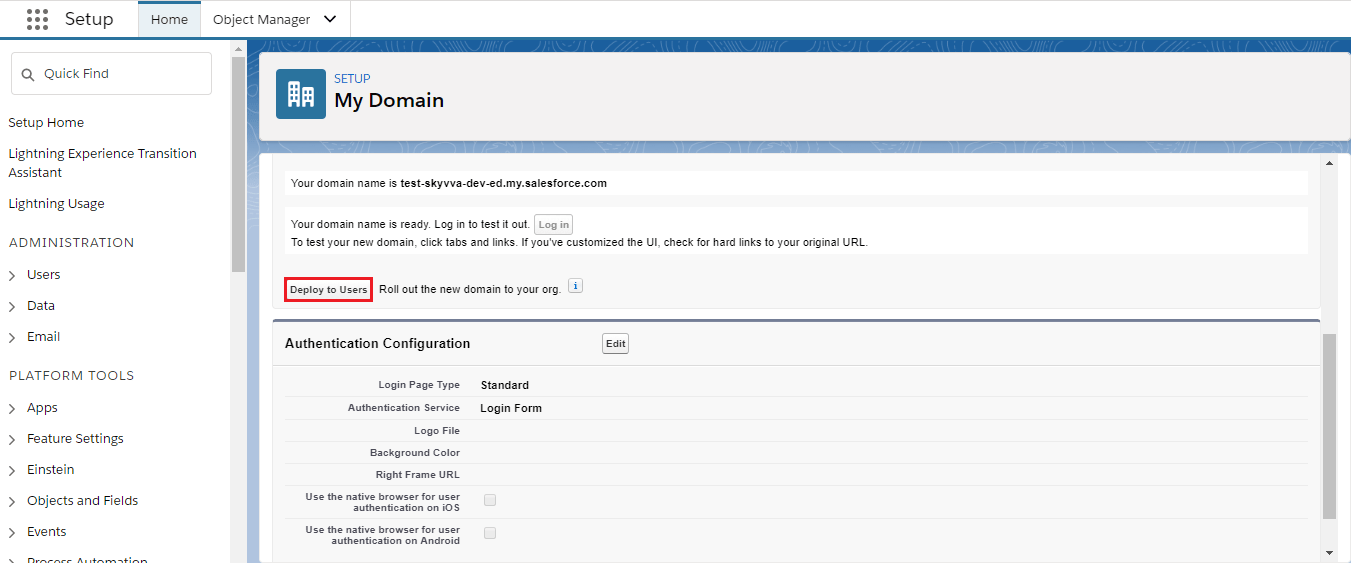
Step 2: Create My Domain.
- Type "My Domain" in the search box and then click on My Domain as shown in the picture given below.
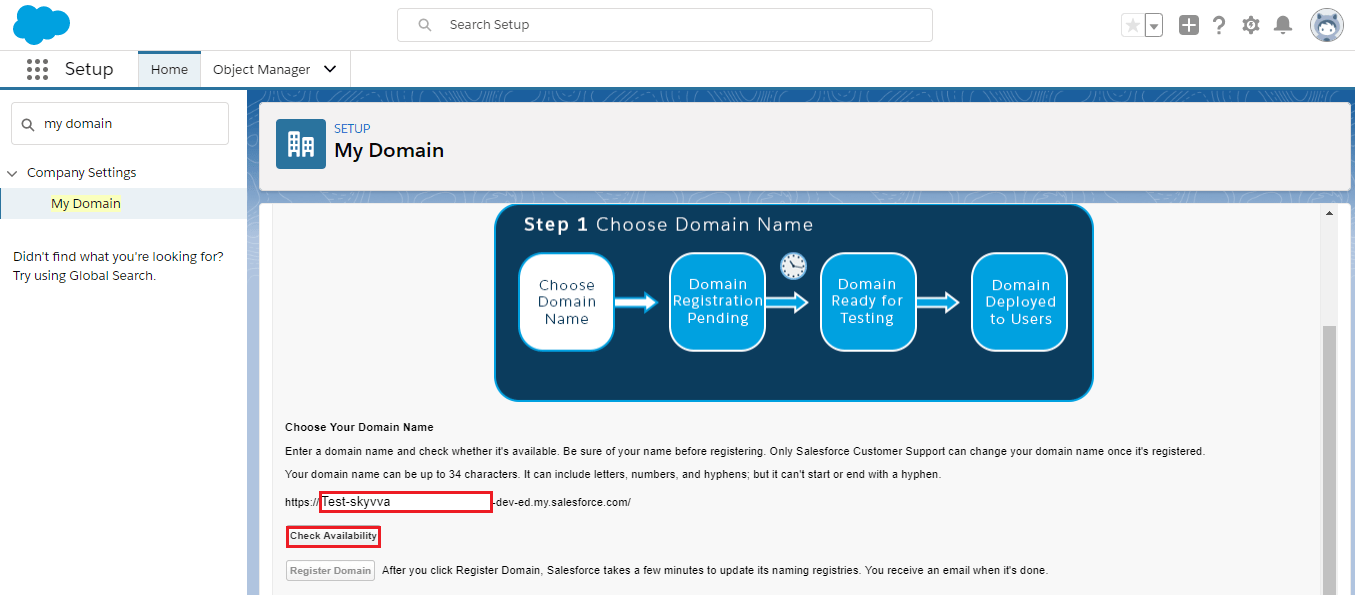
- Enter a domain name and check whether it is available, for this we need to click on the "Check Availability".
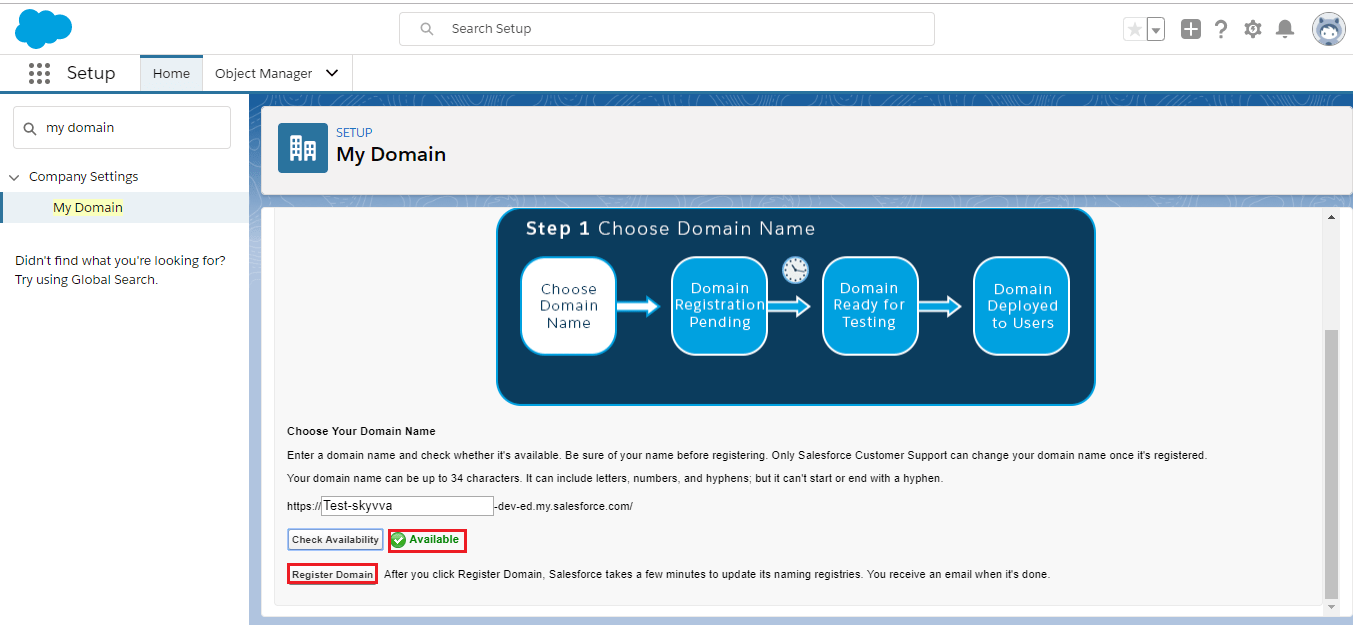
- If the domain name is available, then we can register a domain for that we need to click on the "Register Domain". As shown in the picture given below.
- Salesforce will take a few minutes.
- After registration, we can log in to test it out.
- And then we can select an option "Deploy to users". As shown in the picture given below.

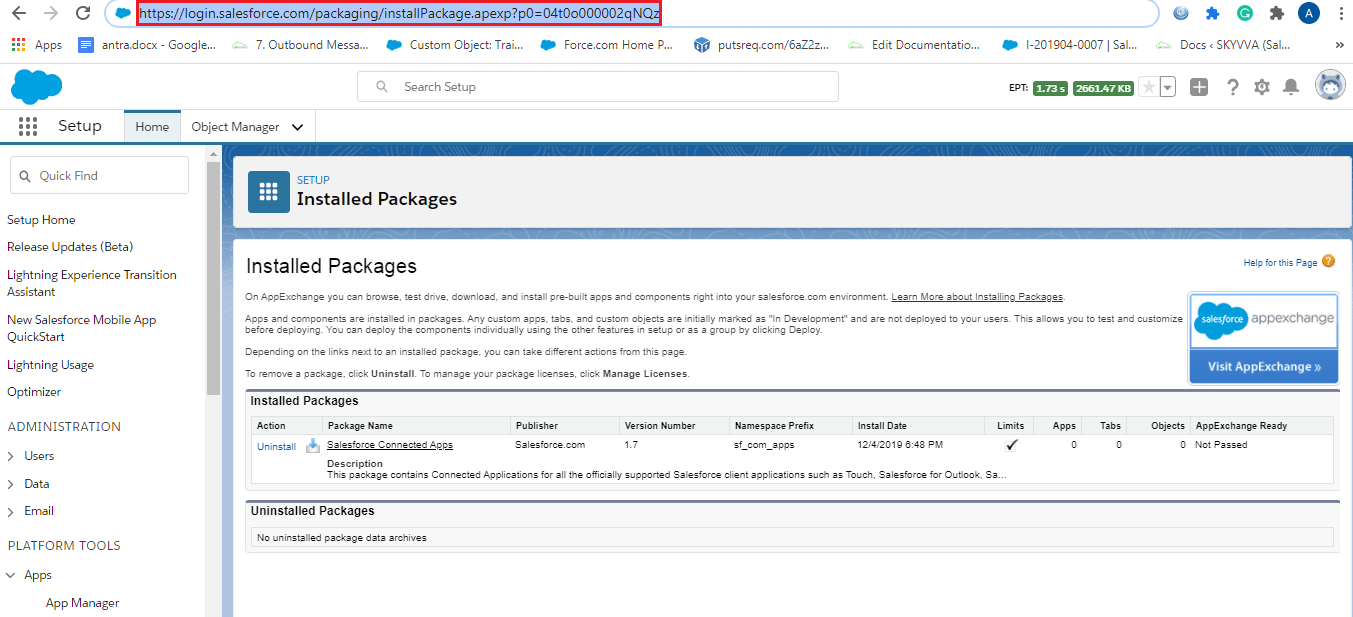
Step 3: Enter Installation link Copy the installation link (Skyvva Integration Suite package installation link) and paste it to the address bar.
Step 4: Install/Upgrade SKYVVA Integration Suite Choose Install for admin the only option and click on the install button.
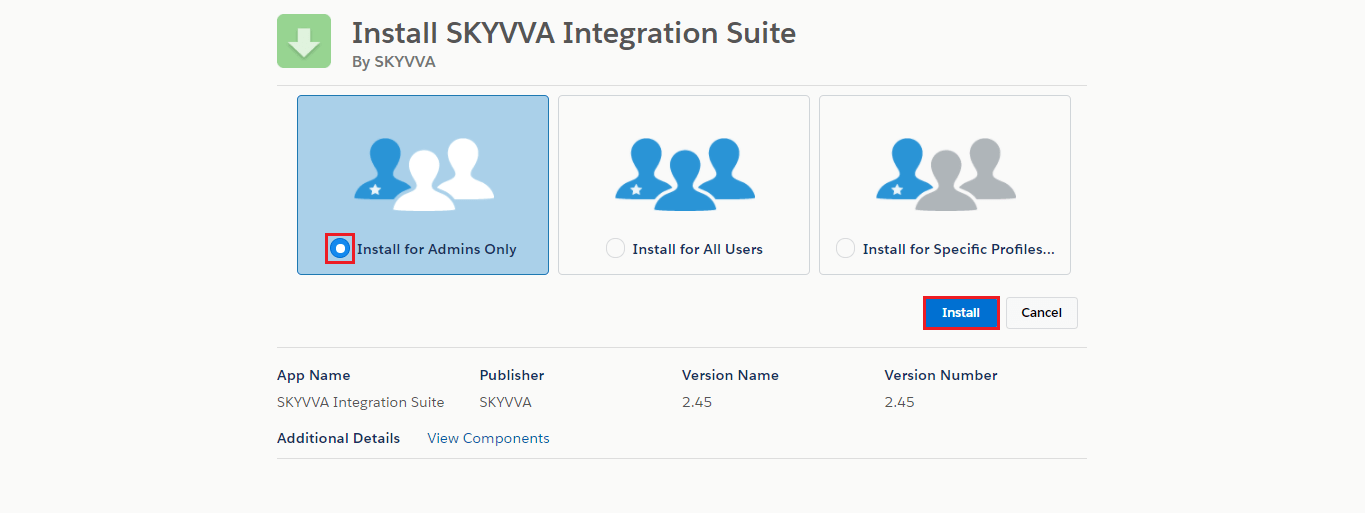
You might need to wait a short while because it will take some time to install packages. As you refresh the page, you can see installed packages.
Post Installation checklist
- Check that the package is successfully installed or not. Please enter the install packages text in the quick find box. Choose the Install package option. Check the package name, the version number is correct.
- Check that you can access the Skyvva product.
- Please refer to the image for reference.

Please check it after the installation to see the SKYVVA App:

[su_box title="Note" box_color="#2a8af0" title_color="#000000"]If you have a problem display some objects of Integration, please creates permission set and choose license as Salesforce.[/su_box]
Integration Object
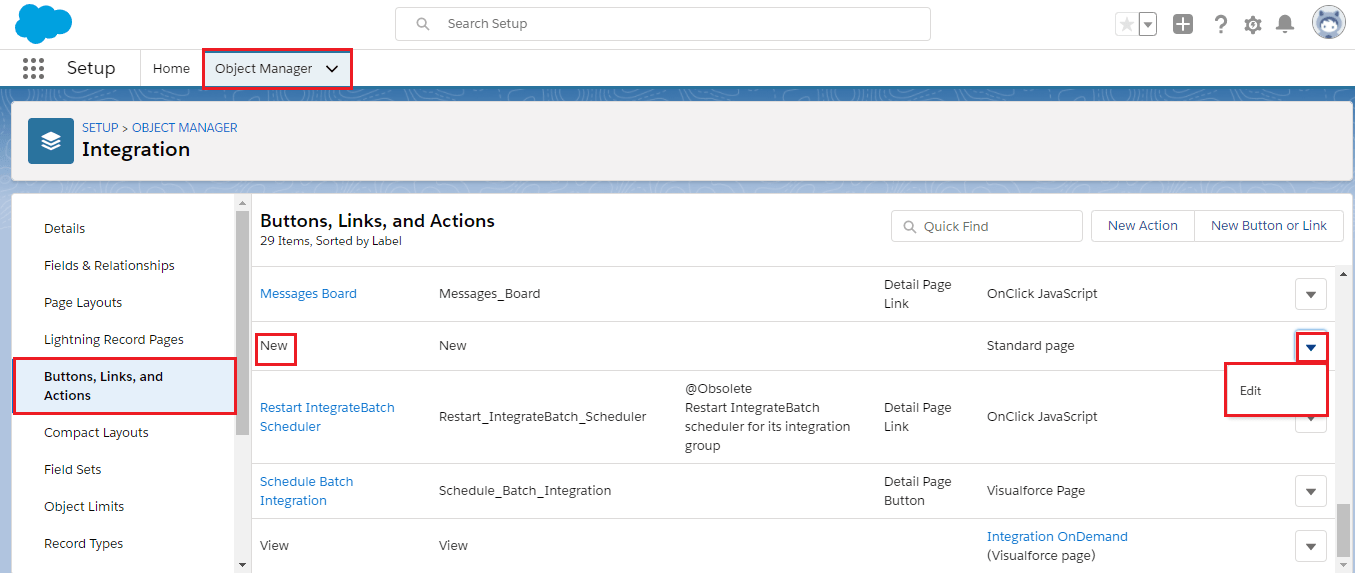
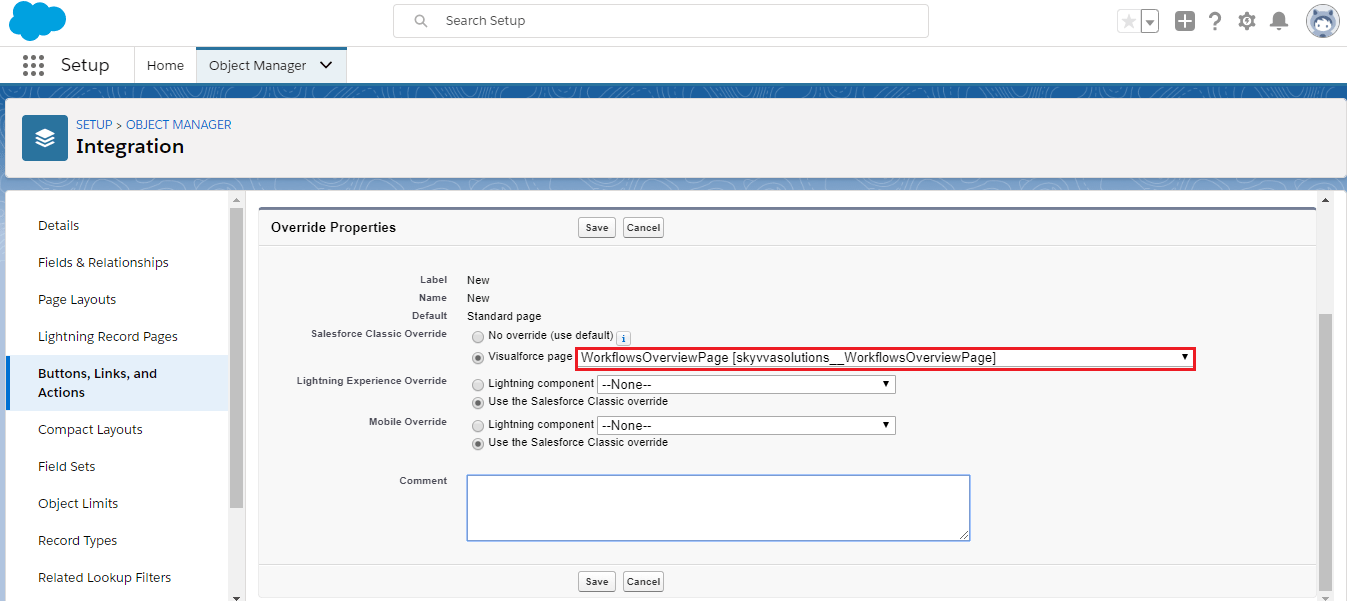
- Go to salesforce organisation -> Click on Setup -> Click on Object Manager-> Integration option -> Choose Buttons, Links & Actions.
- Check your standard button is overridden or not if yes then keep as it is.
Step 1:- Select New Button and Click on the dropdown icon and then on the Edit button.
Step 2:- Select the visualforce page as shown in the picture and click on the Save button.
Chatter Settings:-
- From Setup, enter Chatter Settings in the Quick Find box, then select Chatter Settings.
- Click Edit.
- Select Enable Actions in the Publisher.
- Click Save.

IWorkflow Object Check
- Go to salesforce organisation -> Click on Setup -> Select Object-> Integration option -> Choose Buttons, Links & Actions.
- Check your standard button is overridden or not if yes then don’t do anything
Step 1: Click on the edit button. This is directly proportional to the “EditIworkflow” visualforce page that is not overridden yet.
- Choose the visualforce page and click on the Save button.
Step 2:
- Click on the New button.
- Click on the edit button.
- Select visualforce page clicks on the Save button.
Skyvva Integration Suite Tabs Check
- To add IAdapter Setup, Integration, Integration Admin, Adapter tabs on your page follow the given steps:
Step 1:- Click on Add More Items my button.
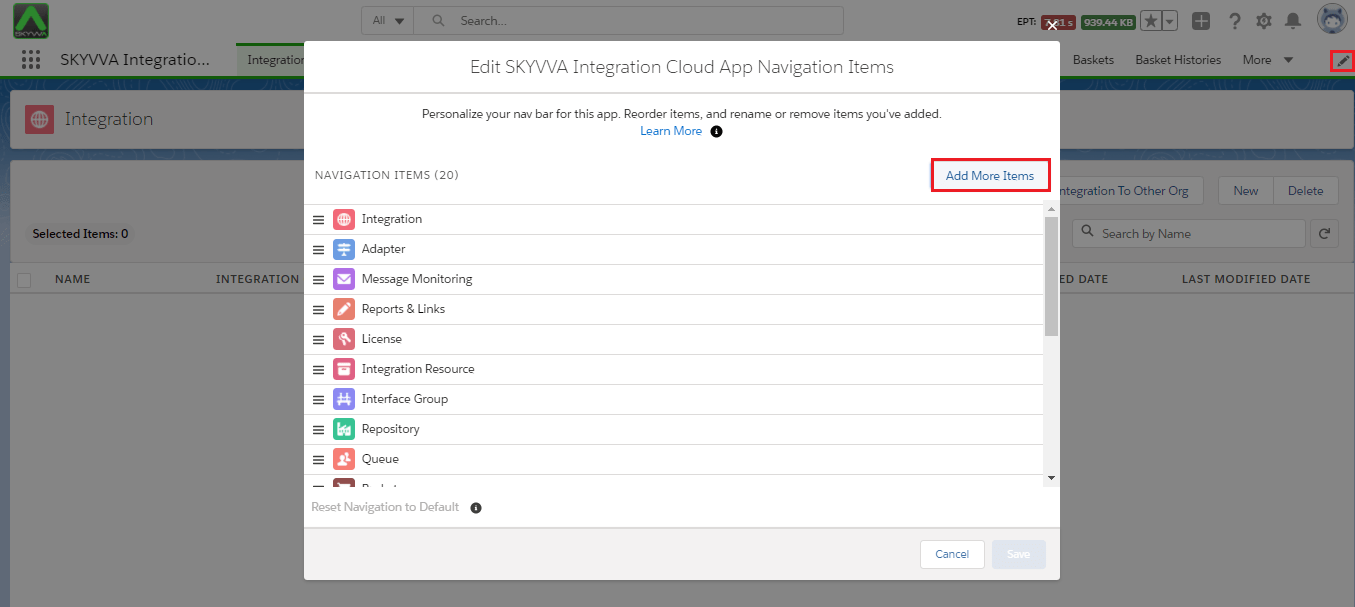
[su_box title="Note" box_color="#2a8af0" title_color="#000000"]In case if all tabs are hidden for the user’s profile.[/su_box]
- Please Go to Manage users-> Users -> Select users profile “Click"
- Go to the profile page ->Tab setting.
Skyvva Integration Suite License Key
To use Batch Scheduler for Integration (HTTP, Email,…) we required a valid key which is license key. To add the License key please follow the steps given below. Step 1: Go to the Integration admin page and click on the "License" tab, then click on Renew key, and select the user to update a license key Or Renew Key for All Users.
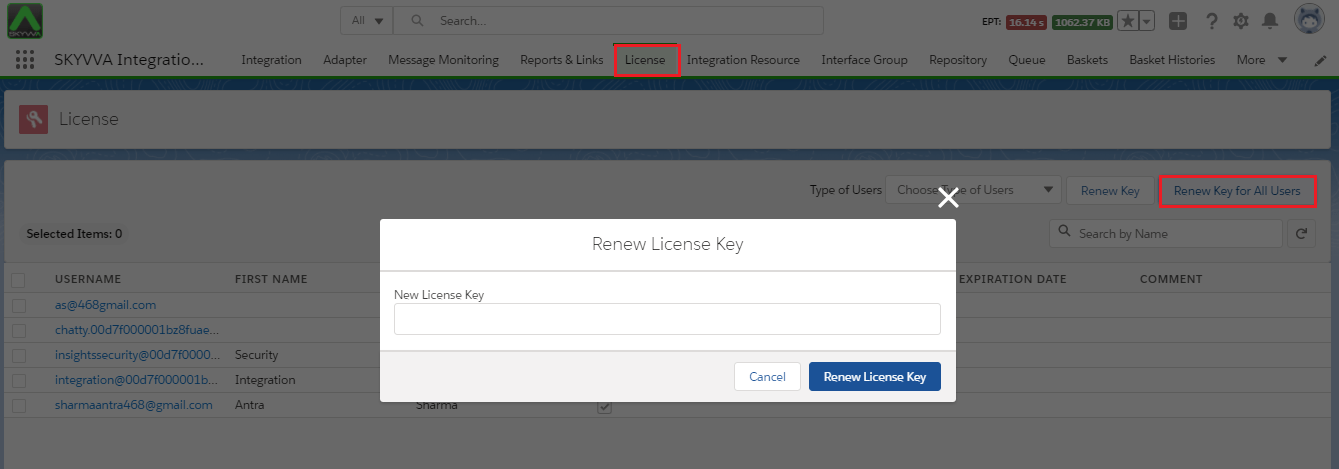
Step 2:- Enter the license key as shown in the picture given below and click on the Renew License Key.

[su_box title="Note" box_color="#2a8af0" title_color="#000000"]Contact SKYVVA support for a license key if you don't get it.[/su_box]