3. How to do filter condition on mapping?
Introduction
At Skyvva, we empower our users with advanced capabilities to enhance their mapping processes. One such feature that sets us apart is the ability to apply filter conditions on mappings. This functionality proves invaluable for customers seeking precision and control in their data integration. With Skyvva, users can effortlessly define conditions tailored to their specific requirements, ensuring a seamless and customized mapping experience. Let us guide you through the transformative power of filter conditions, allowing you to fine-tune your mappings and achieve unparalleled flexibility in your data integration workflows.
The benefit of this function
This function brings double the benefits! We can set conditions not only on the main data (parent node) but also on the detailed information (child node). When we set conditions on the parent node, it's like having a data detective. If we find a match in the parent's data, it smoothly inserts or updates Salesforce. No match? No problem. We won't generate any API messages.
Now, on the child node side, it's a bit more dynamic. If the child data matches, it will create both the parent and child data in Salesforce. But, if the child data doesn't match, no worries—it still creates the parent data without bothering about the child. It's all about giving us the flexibility to handle data the way you need it.
How to use the filter condition on mapping?
Pre-required
- Import message type
- Create Integration
- Create Inbound Interface.
- Postman
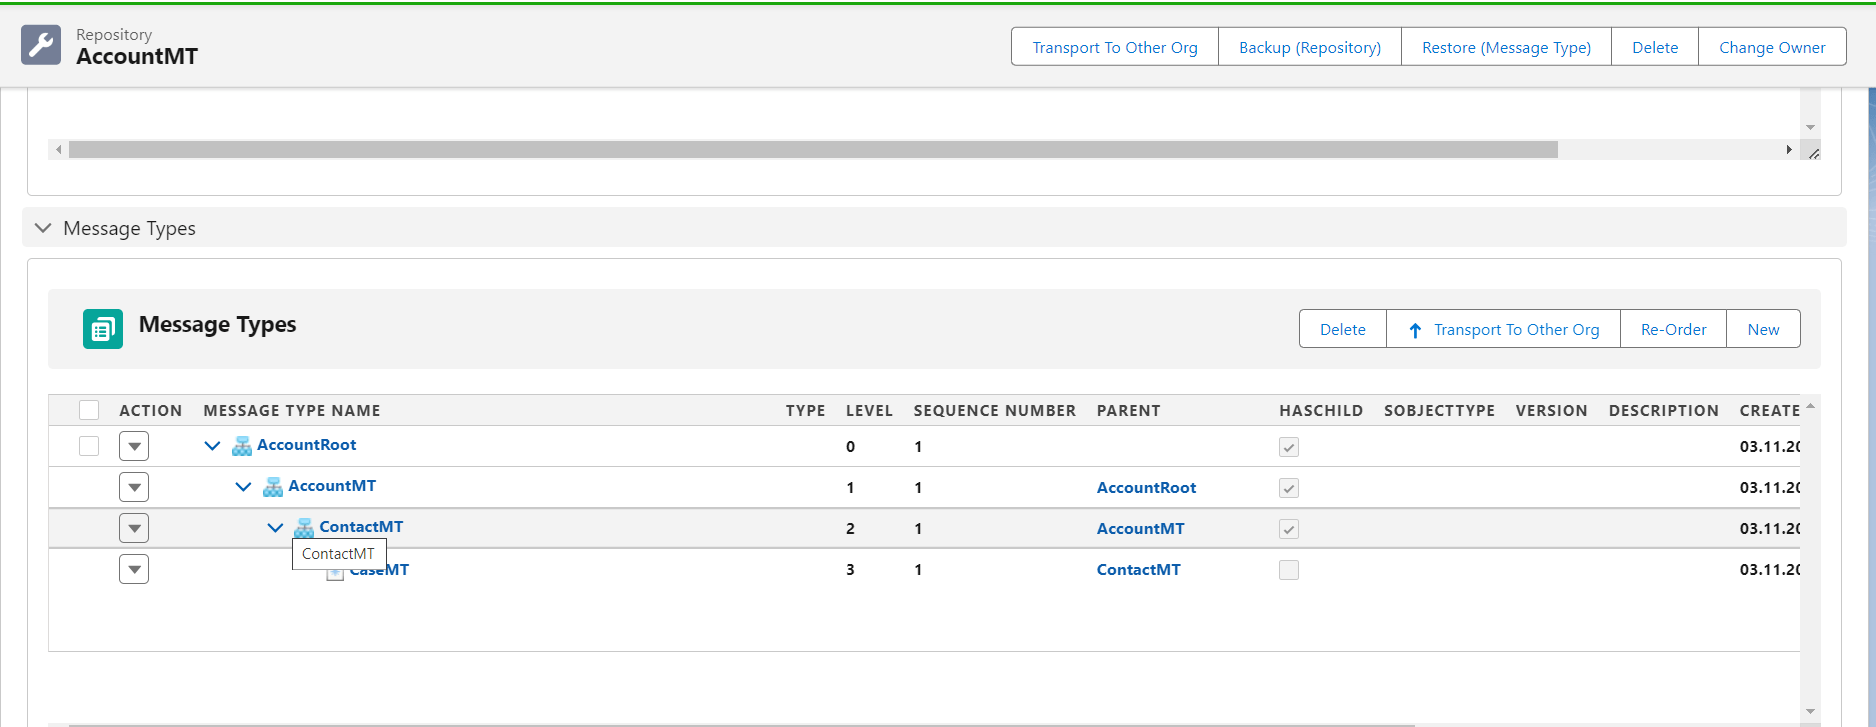
Step 1: Import message Type
- Here’s the message type.
Step2: Create Integration.
- Here’s Integration

Step3: Create Inbound Interface.
- Here’s Inbound Interface link with message Type.

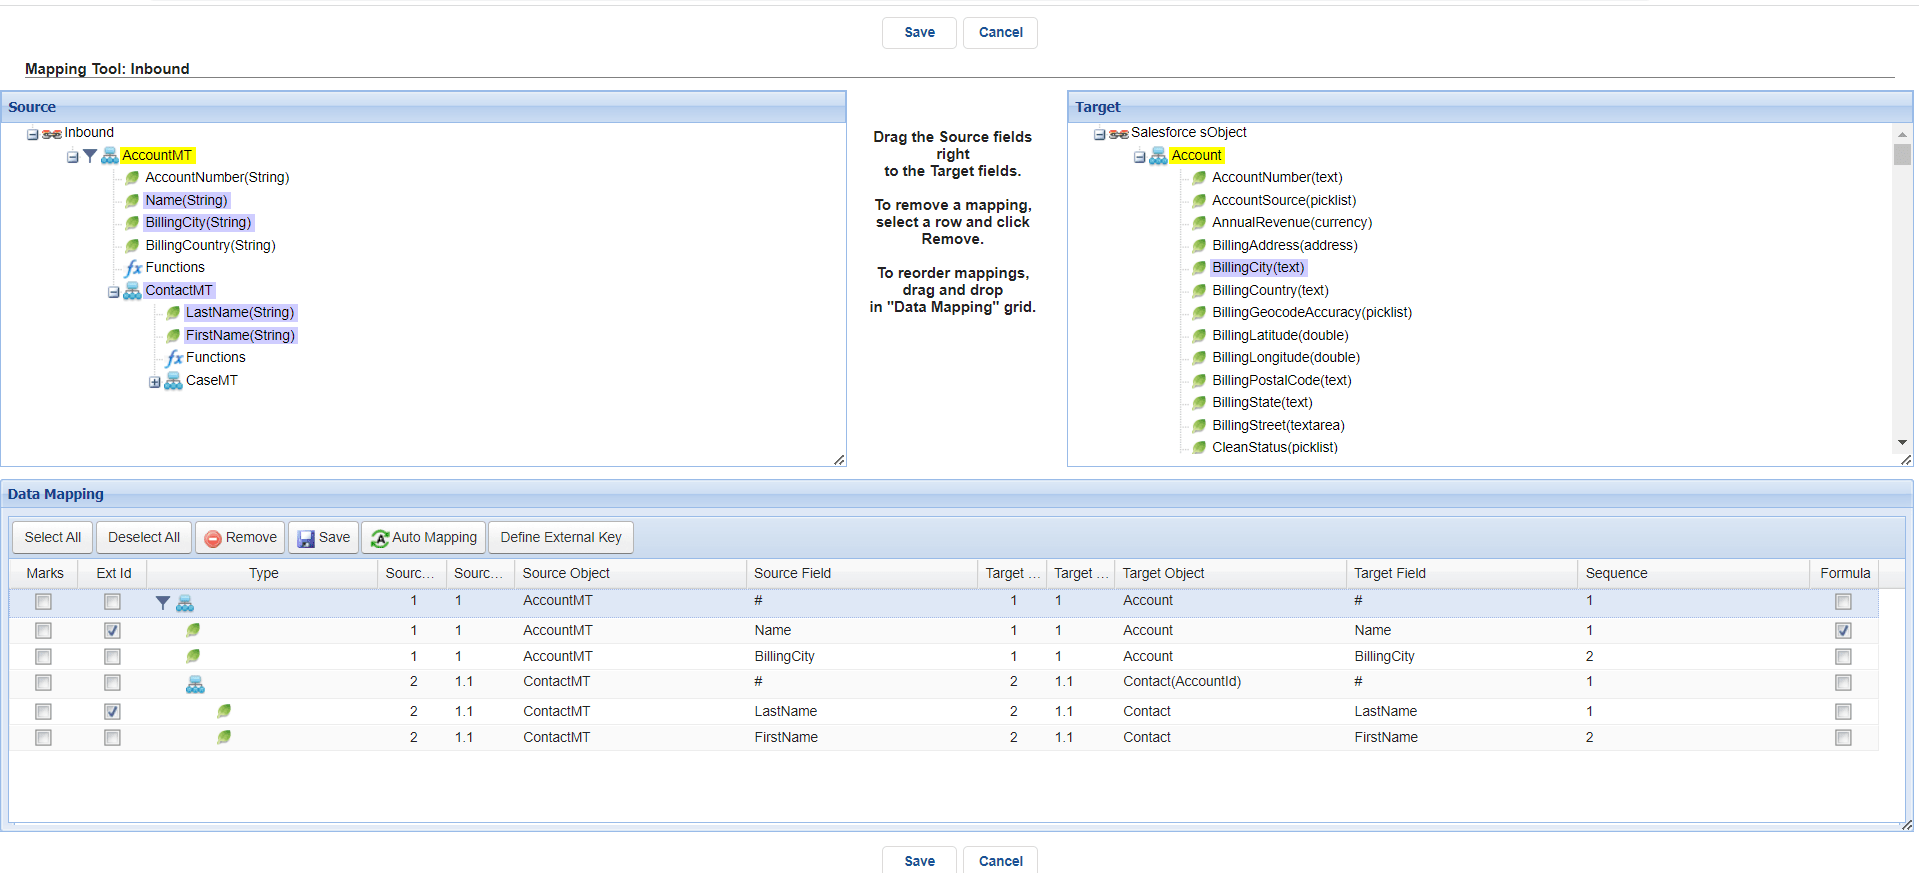
Step4: Do mapping
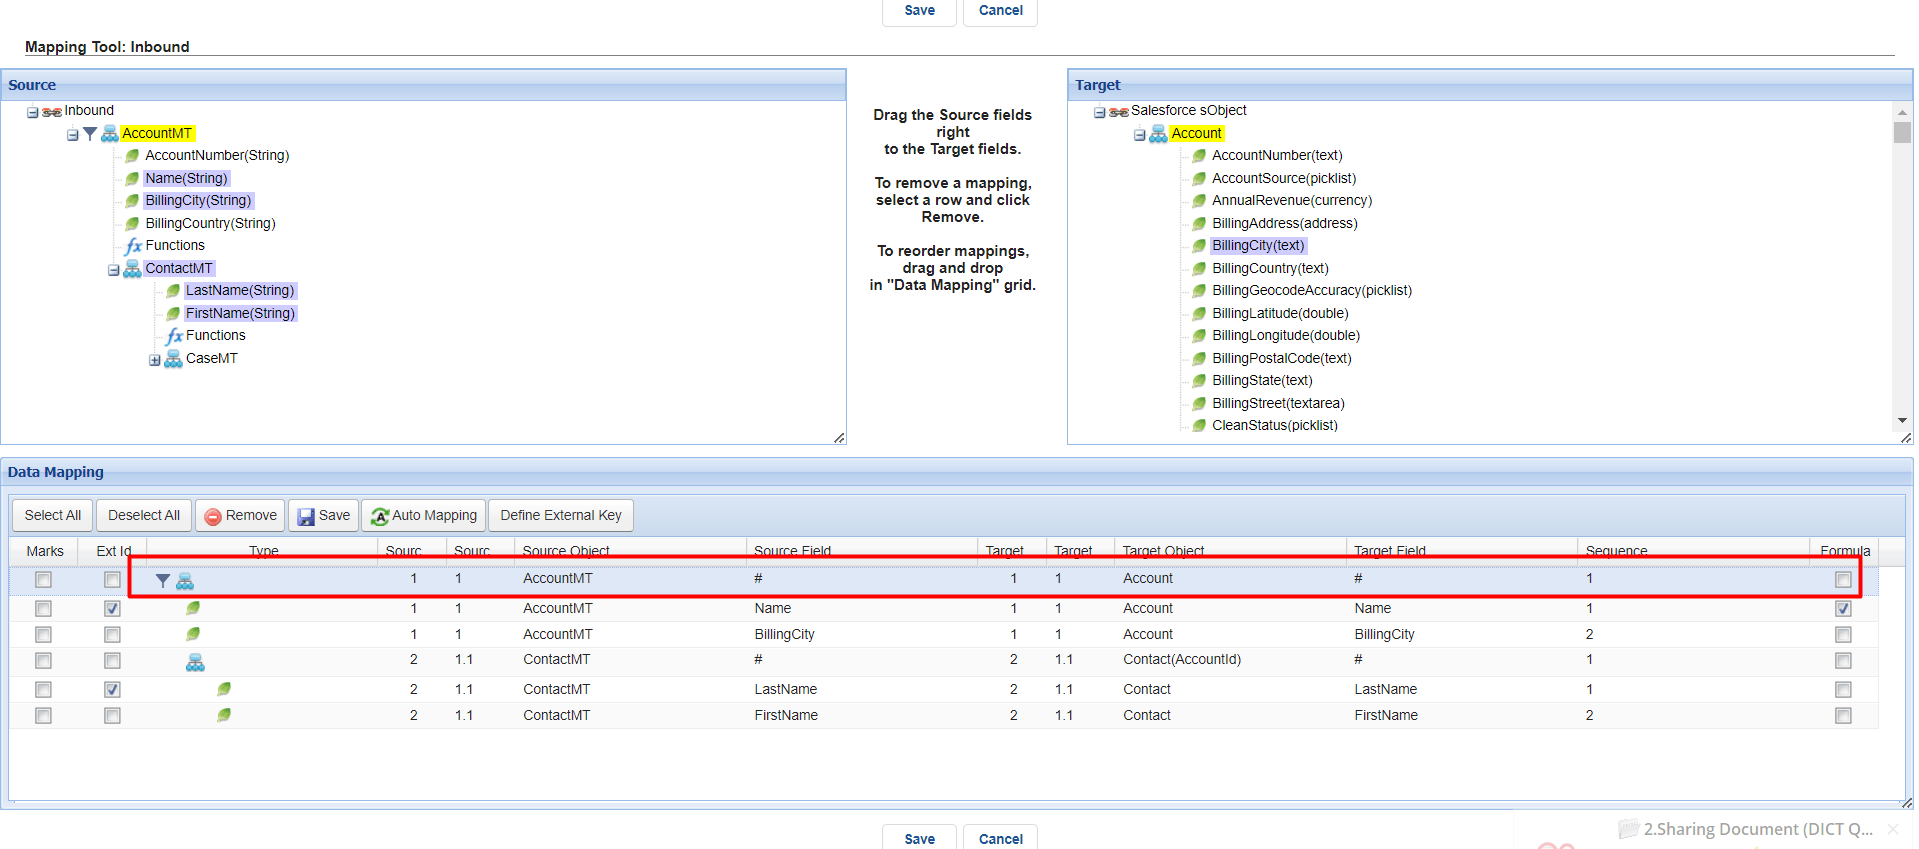
1: Set Condition with parent node.
- Double click on node root.
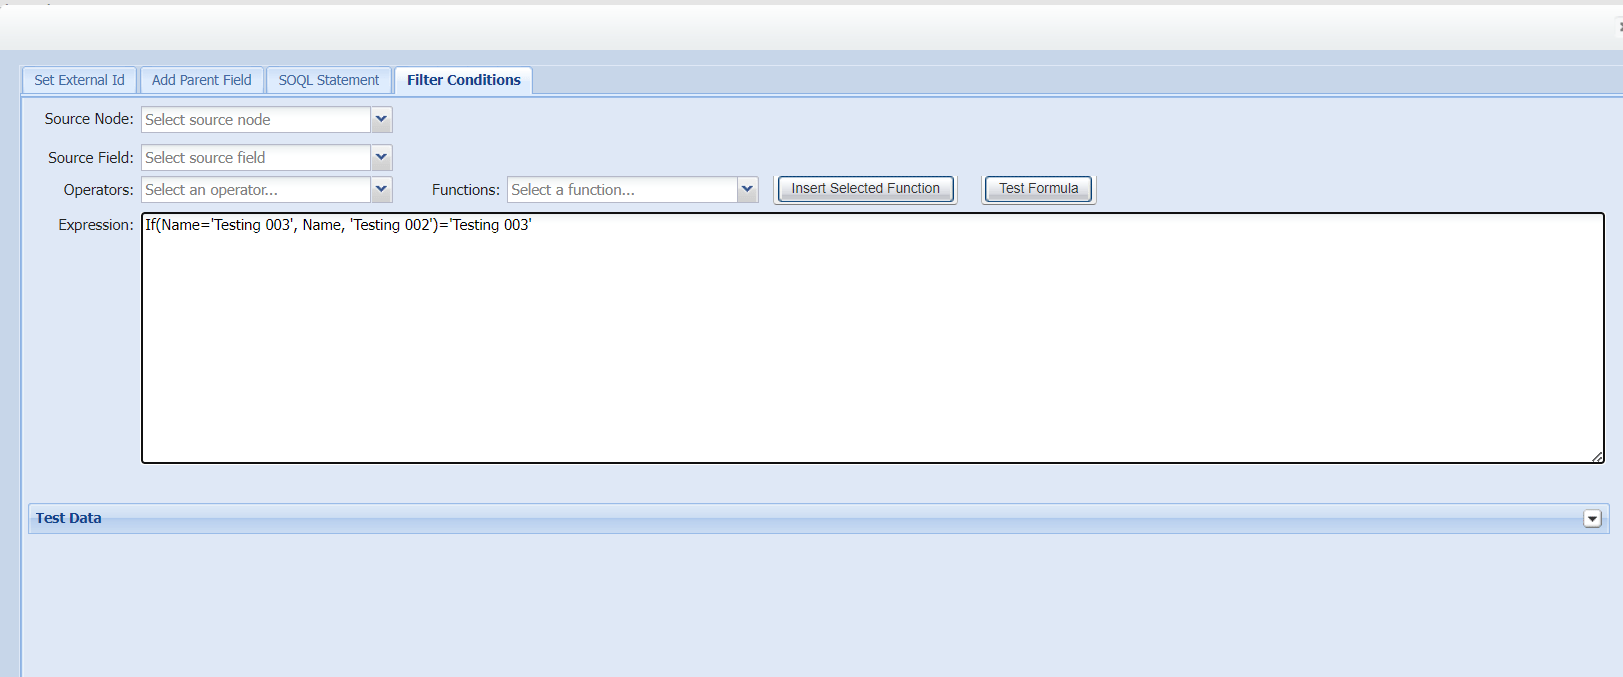
- Click Filter Condition and write the condition and save it.
Step: 5 execute this Interface by postman with inbound v3 and v4
In this case, we have 2 records which one is met condition and another one not meet so in Case it will create one records.
- Here’s Inbound V3.
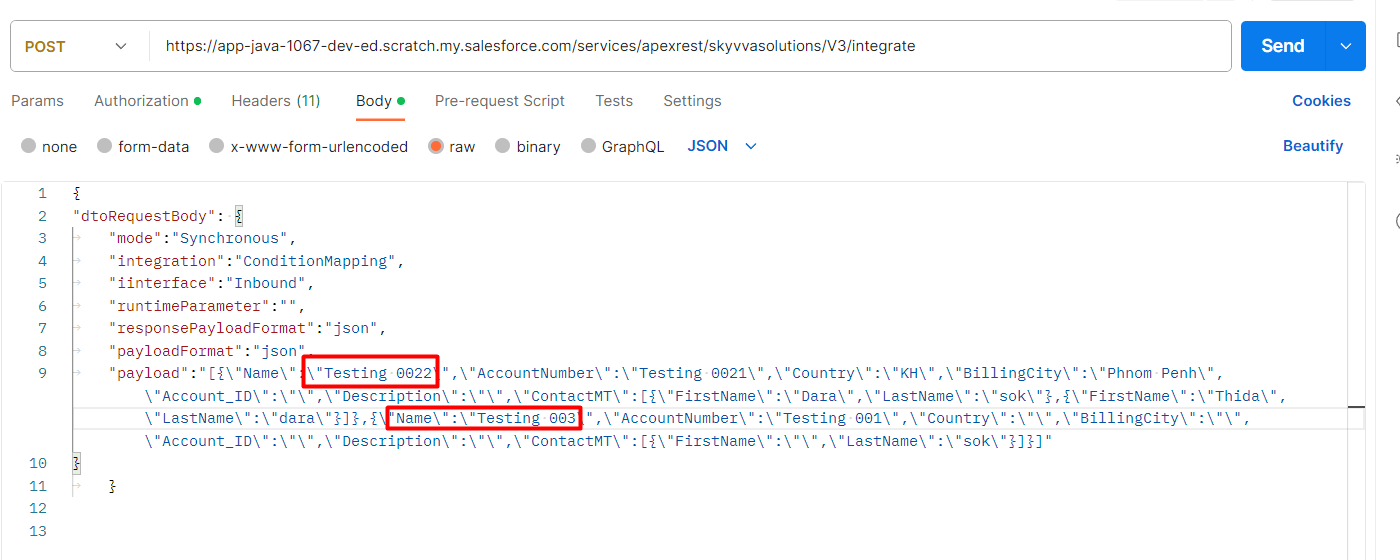
- Click send and see the response.
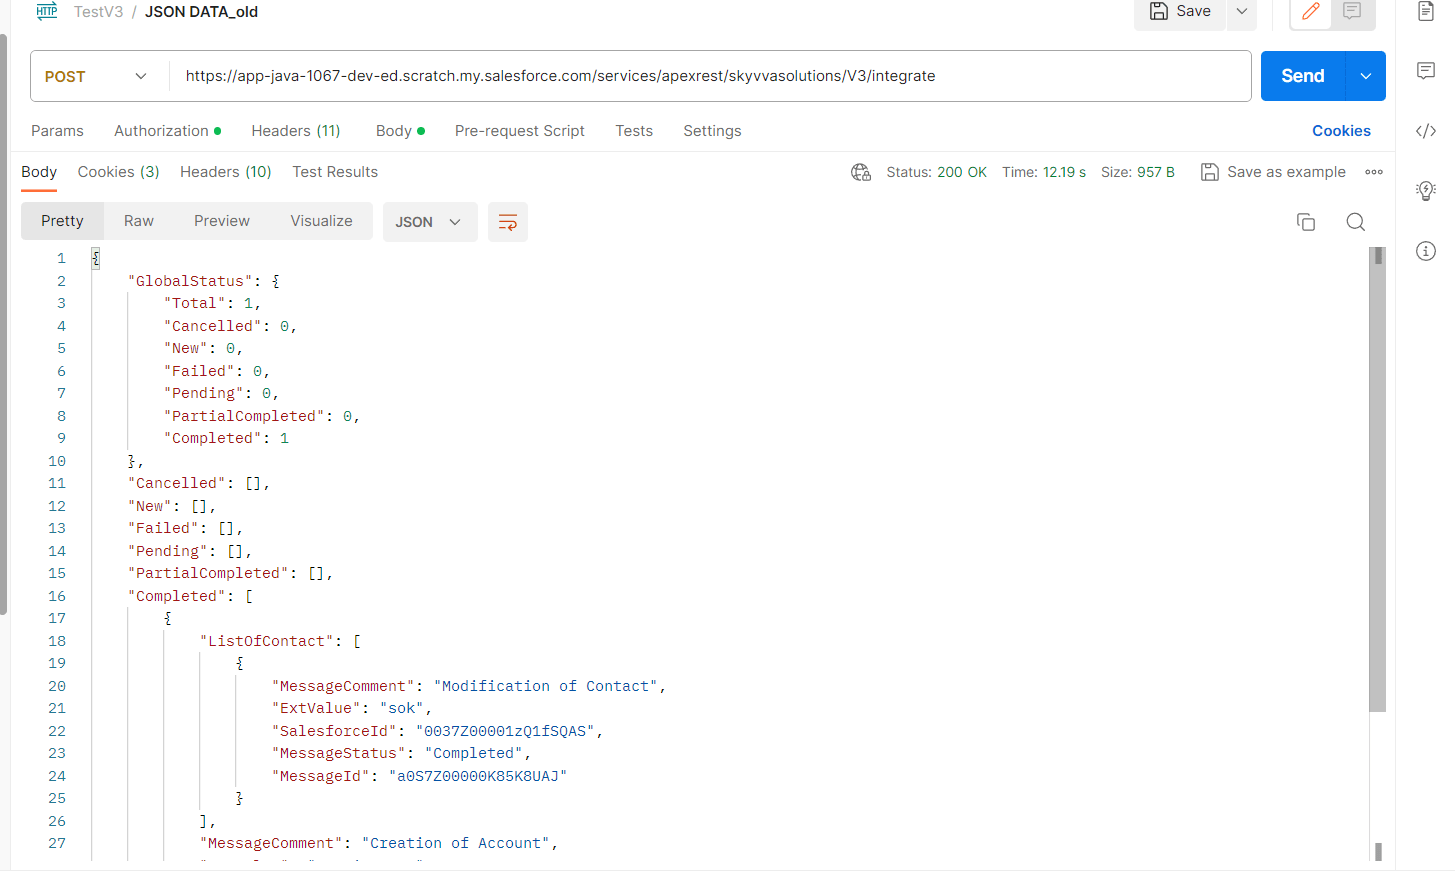
- Go to message monitor to see the message.
