27. Overview of existing Skyvva adapters
1 What is Adapter? An adapter is a device for connecting pieces of equipment that cannot connected directly. Adapter is also important; without it, you cannot transfer the data to the external system. It provides the interface between a computer and a network connection. There are many different types of adapters such as File Adapter, Database Adapter, FTP/SFTP Adapter, SAP-R/3 Adapter and SAP-ERP Adapter. File Adapter and Database Adapter supported for Agent. However, SAP-R/3 and SAP-ERP Adapter are used to connect to SAP-R/3. 2 Type of Adapter This section will be describe about adapter types of SKYVVA. We have three types of adapters:
- File Adapter ( CSV, Excel, XML)
- JDBC Adapter (ORACLE, SQLServer, MySQL, MsAcess)
- FTP/SFTP Adapter
- HTTP
- SFDATALOADER
- SAP-R/3
- SFDC2SAPPI
- Data Loader
- REST
- Force2Force Adapter
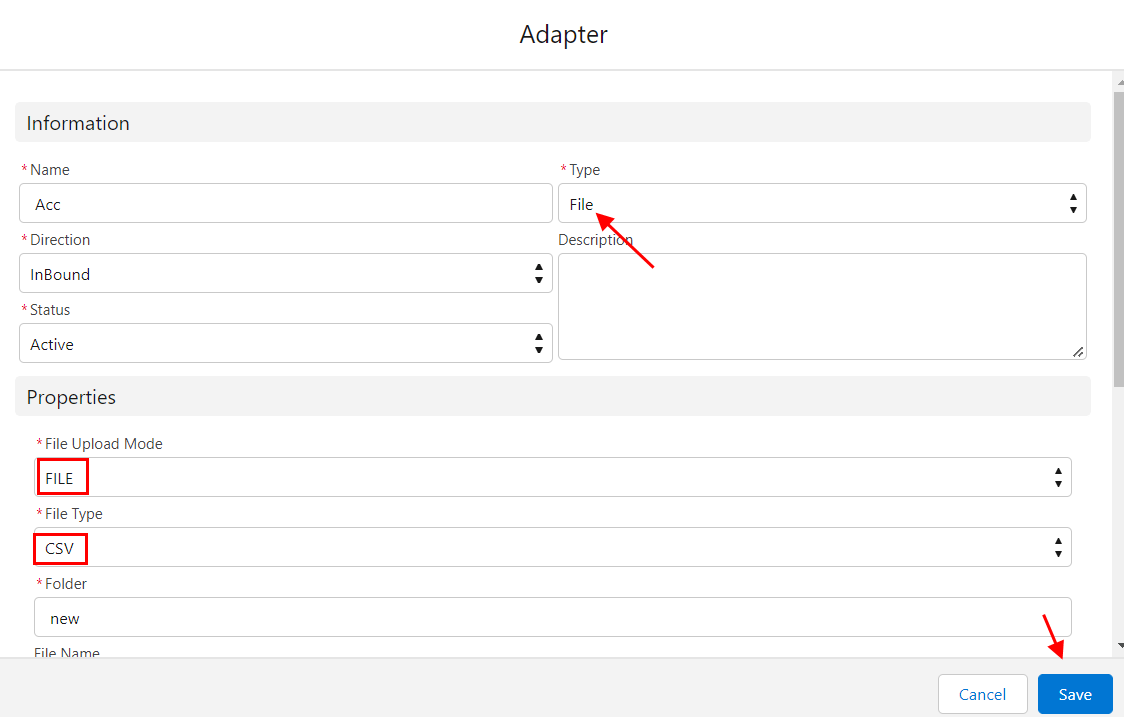
- Adapter Section: Choose Adapter Type (File) > Name Adapter
- Adapter Properties:
- File type: Choose CSV
- File Upload Mode: Choose CONTENT or FILE
- Folder: Choose the folder (path to get the file/ files)
- File Name: Choose file name (a file name for agent to query data from. If this
- After Processing: Choose what you want to do with your file
- Backup Folder: The folder to keep the processed file. If you choose to backup
- Click “Test Source Connection” to test the connection to the specified folder and
- Click Save.
Note: For Excel and XML File, you can just do the same as CSV File. But you only need to change the file types, adapter and its properties accordingly. 2.2 JDBC Adapter JDBC Adapter is used as a connector to transfer data from Database to Salesforce and from Salesforce to Database. Agent supports five database type include Oracle, SQLServer, MySQL, MsAcess and PostgreSQL. The following sample is about SQLServer onfiguration. Run Agent UI > Integration Wizard > Choose Integration > Choose existing interface.
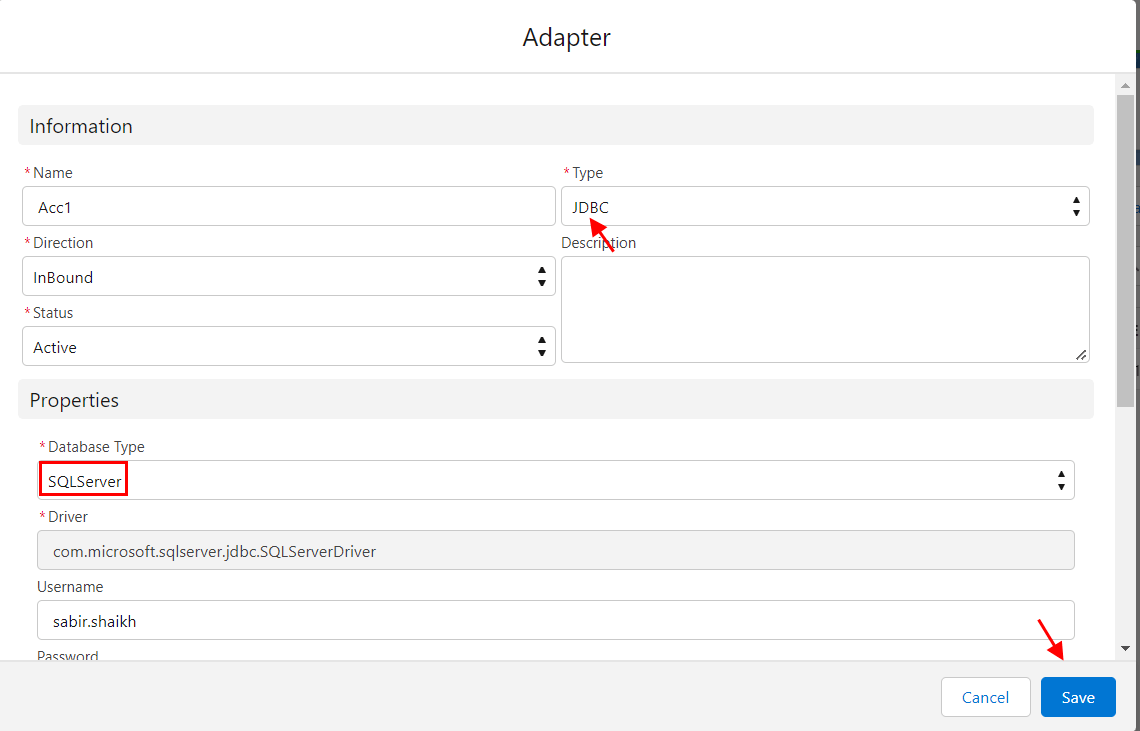
- Adapter Section: Choose Adapter Type (JDBC) > Name Adapter
- Adapter Properties:
- Database type: Choose SQLServer. The type of database to which the
- Username: sa
- Password: * (The default password to use when making the connection
- Hostname: 192.168.1.141 (Ip address)
- Port: 1433 (default)
- Database Name:
- Server Instance: (Local)
- Click “Test Source Connection” to test the connection to the specified folder and
- Click Save
Note: For Oracle, MySQL, MsAcess and PostgreSQL database, you can just do the same as SQLServer. But just you need to change the database types, adapter and its properties accordingly. 2.3 FTP/SFTP Adapter FTP Adapter is used as a connector to transfer data from FTP server to Salesforce and from Salesforce to FTP server.To create FTP Adapter, there are some steps must be followed: Run Agent UI > Integration Wizard > Choose Integration > Choose existing interface.
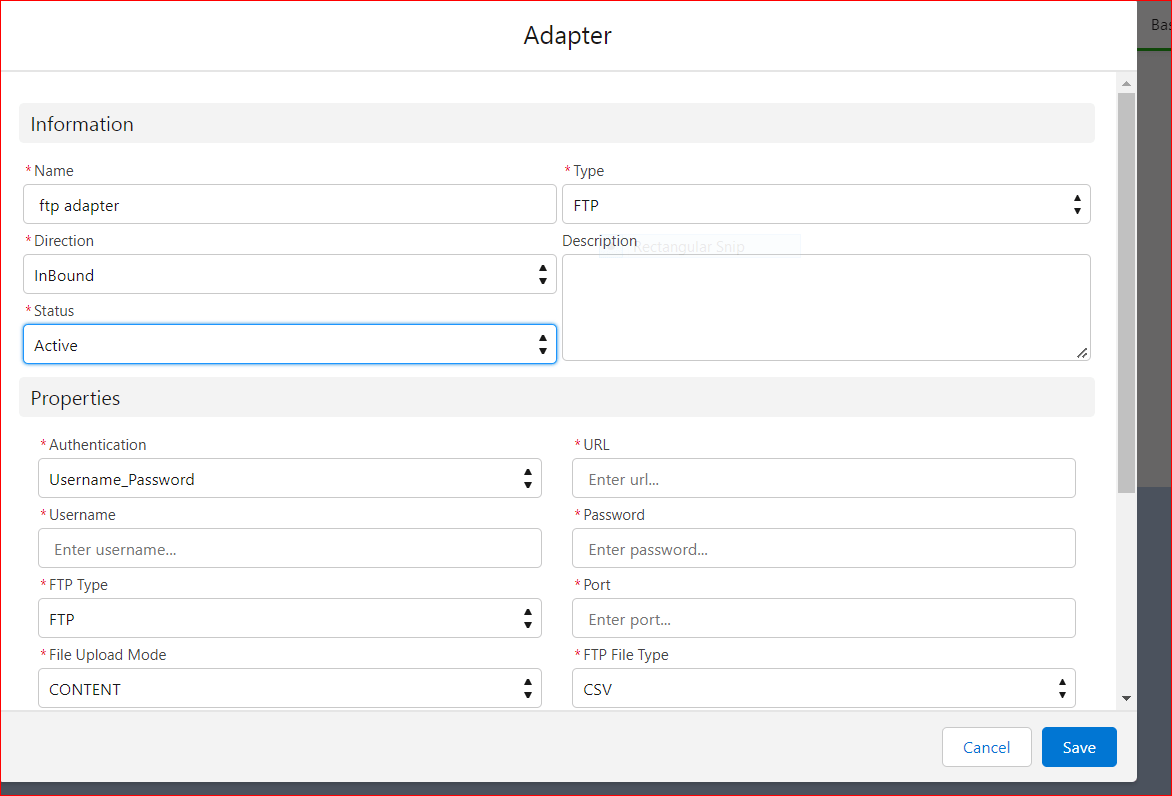
- Adapter Section: Choose Adapter Type (FTP) > Name Adapter
- Adapter Properties:
- Authentication: Username_Password
- URL: the URL to your FTP server – here we use http://www.bplaced.net/ but it
- Username: kktest (Username to log in to FTP server)
- Password: * (The default password to use when making the connection
- FTP File Type: Choose CSV or other
- Folder: /KOLINA (path to get the file/ files)
- FTP Type: Choose FTP
- Port: 21(Default)
- File Name: (Optional) a filel name for agent to query data from
- After Processing: Choose what you want to do with your file
- Backup Folder: The folder to keep the processed file. If you choose to backup
- Click “Test Source Connection” to test the connection to the specified folder and
- Click Save.

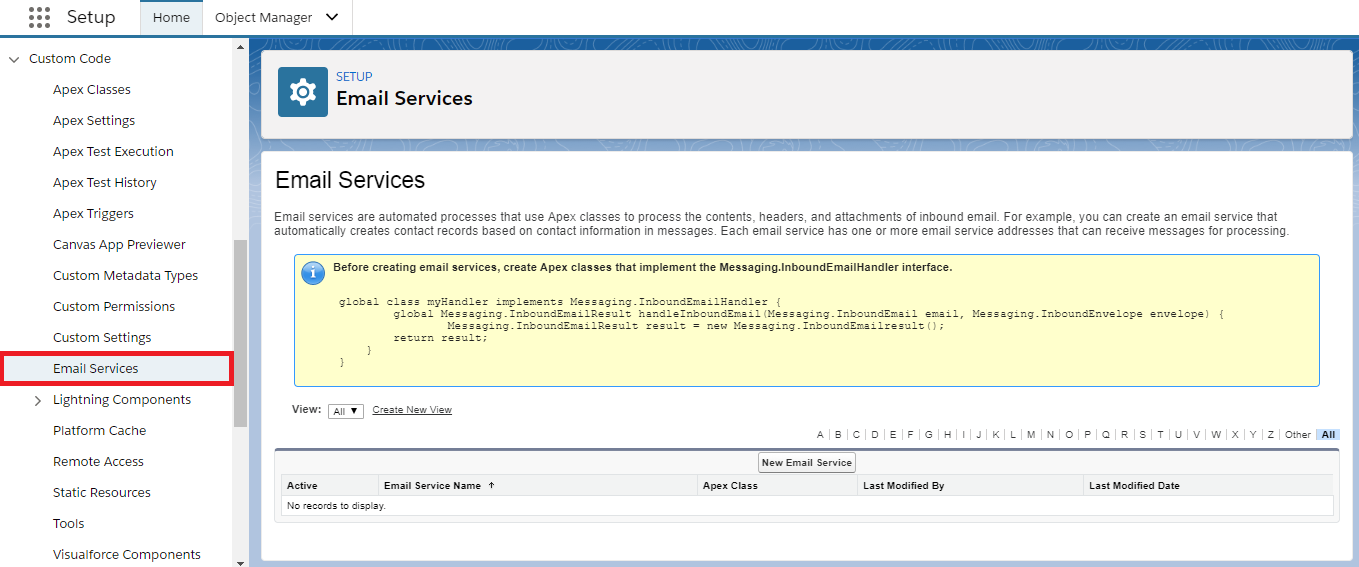
Note: For SFTP configuration, please kindly look for document 2.5 Email Adapter Email adapter is support-sending email to Salesforce using an attachment (source file) to carry the business data. The functionality is to pass parameters to the email subject and body. You can pass business data with the subject and body. As soon as the Email arrives, the data import is initiated automatically. -> The configuring of email service on Salesforce This section will be explained the process of configuring the Email-Service on Salesforce.You can follow the steps below:
- Log in to Salesforce and go to Setup then click on Custom Code.
- Click button "New Email service" -
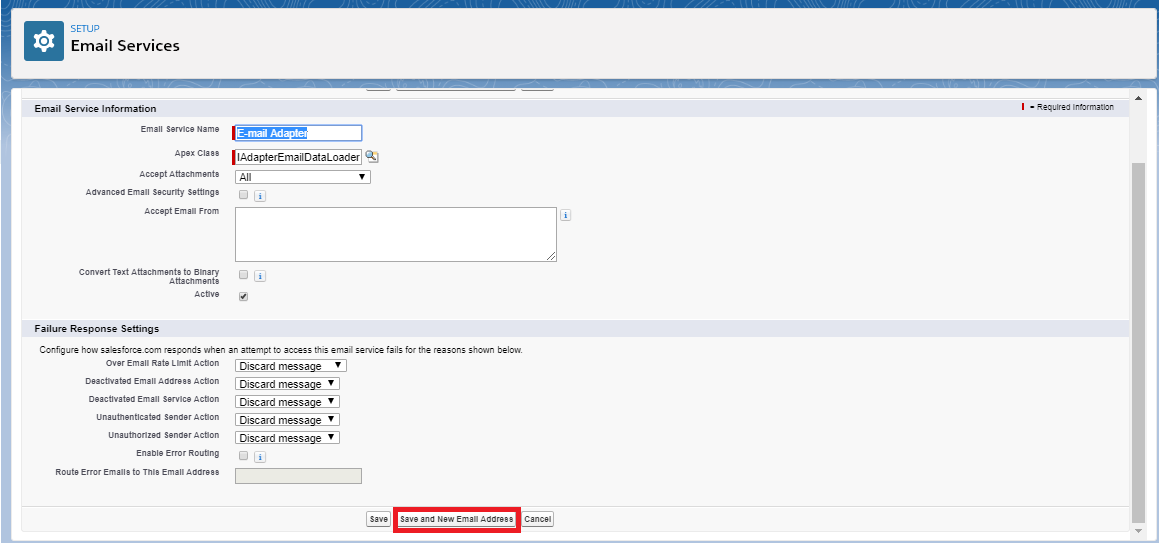
->There are some field you must know on Email Service Information Page:
- Email Service Name: E.g. E-mail Adapter.
- Apex Class: search for “IAdapterEmailDataLoader”.
- Accept Attachments: All.
- Check icon ‘Active’.
- On Failure Response Setting: Click on Dropbox field and configure how Salesforce
- Click on “Save and New Email Address”.
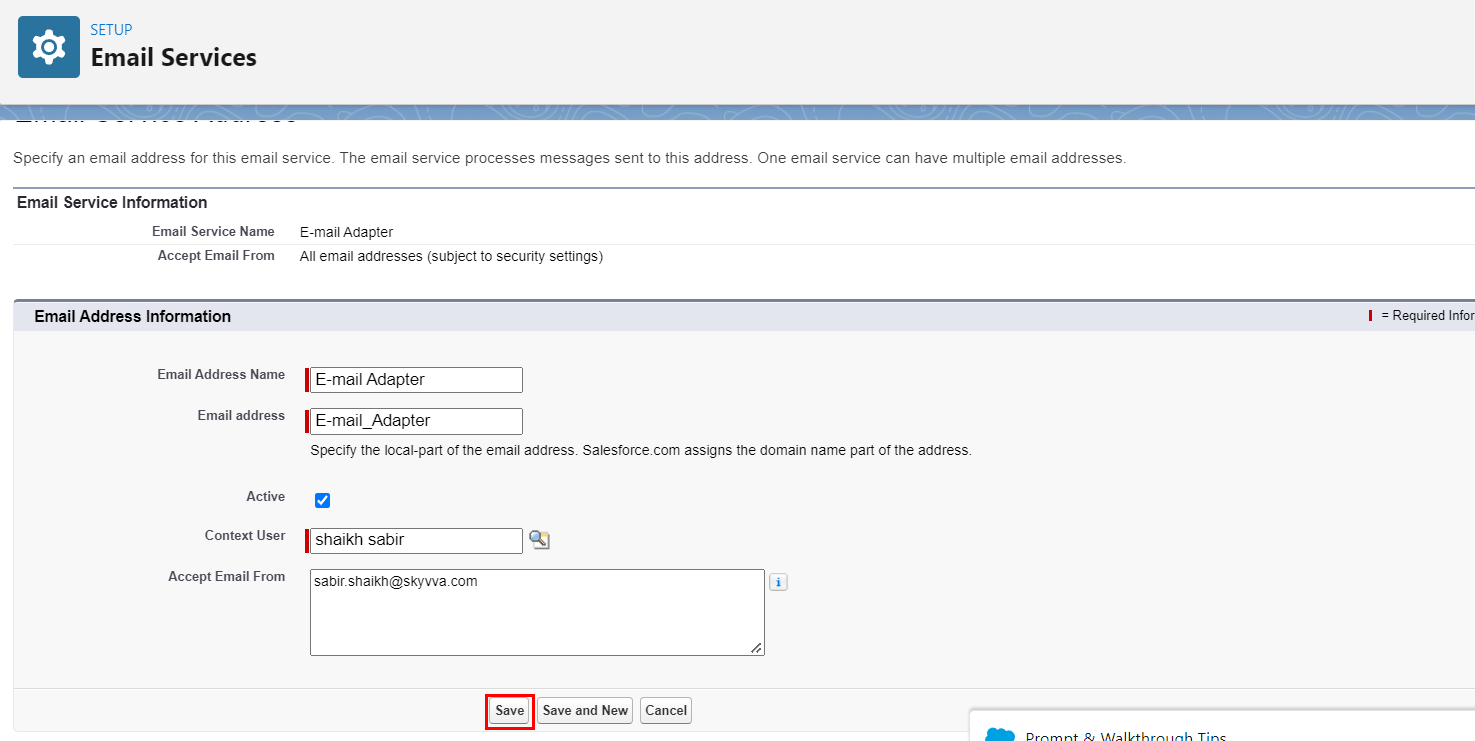
Note: If you did not Check icon 'Active' the Email Service is created deactivated in this case you can of the active manually , You will see under Setup -> App Setup -> Custom Code-> Email Service -> Click on your Email Service Name -
- Add Email Address name-
- Email Address: -

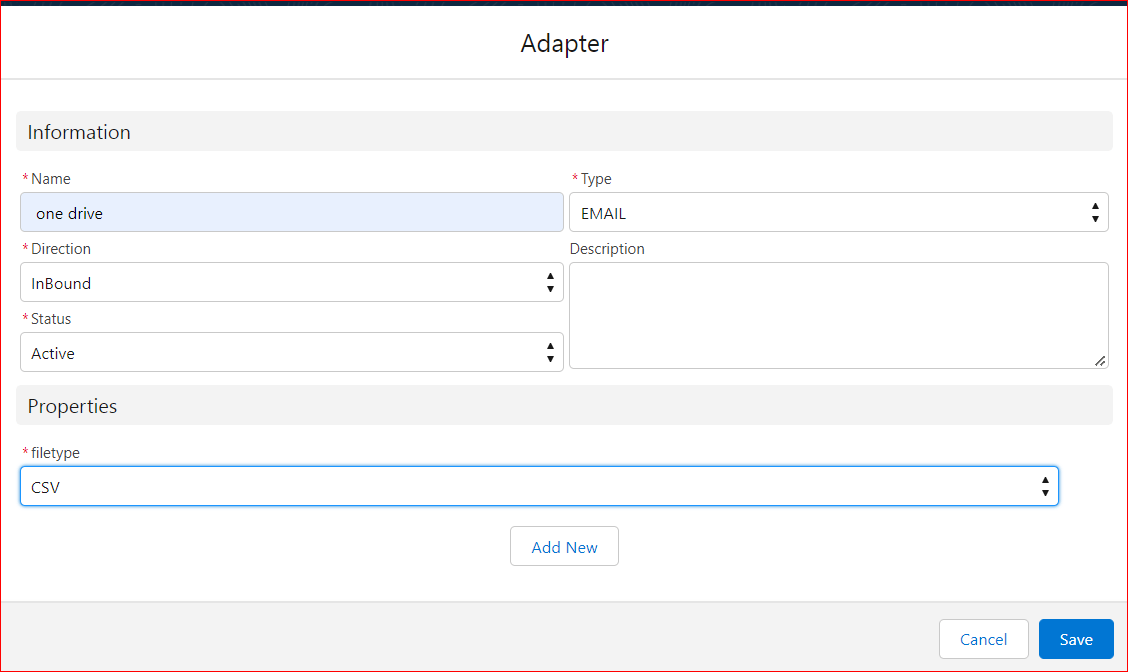
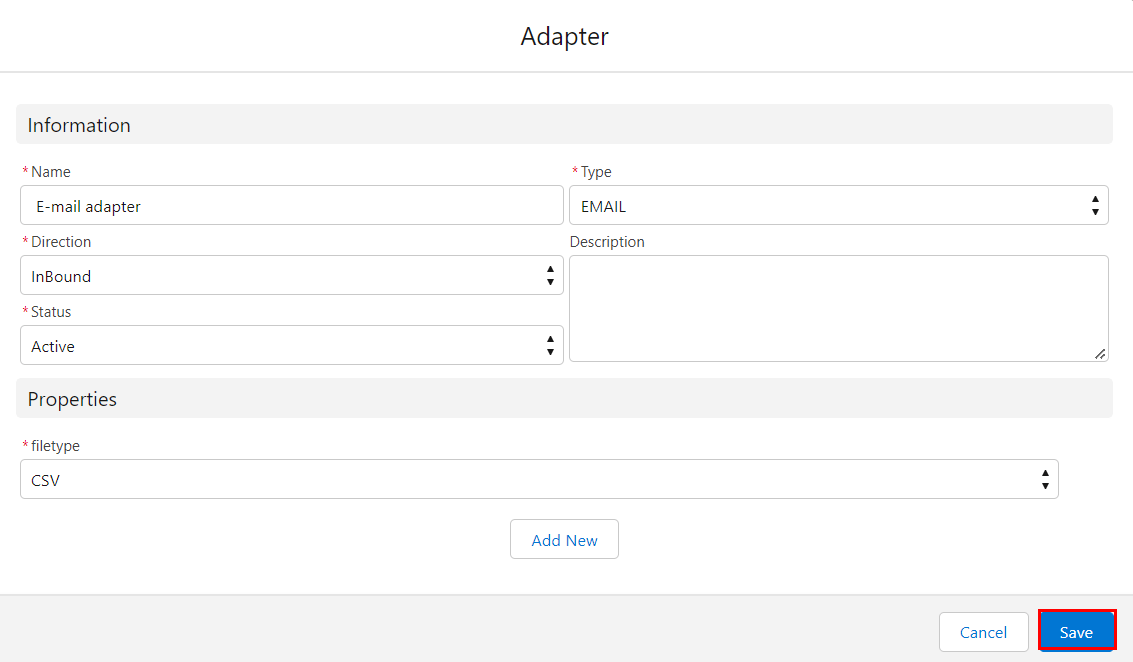
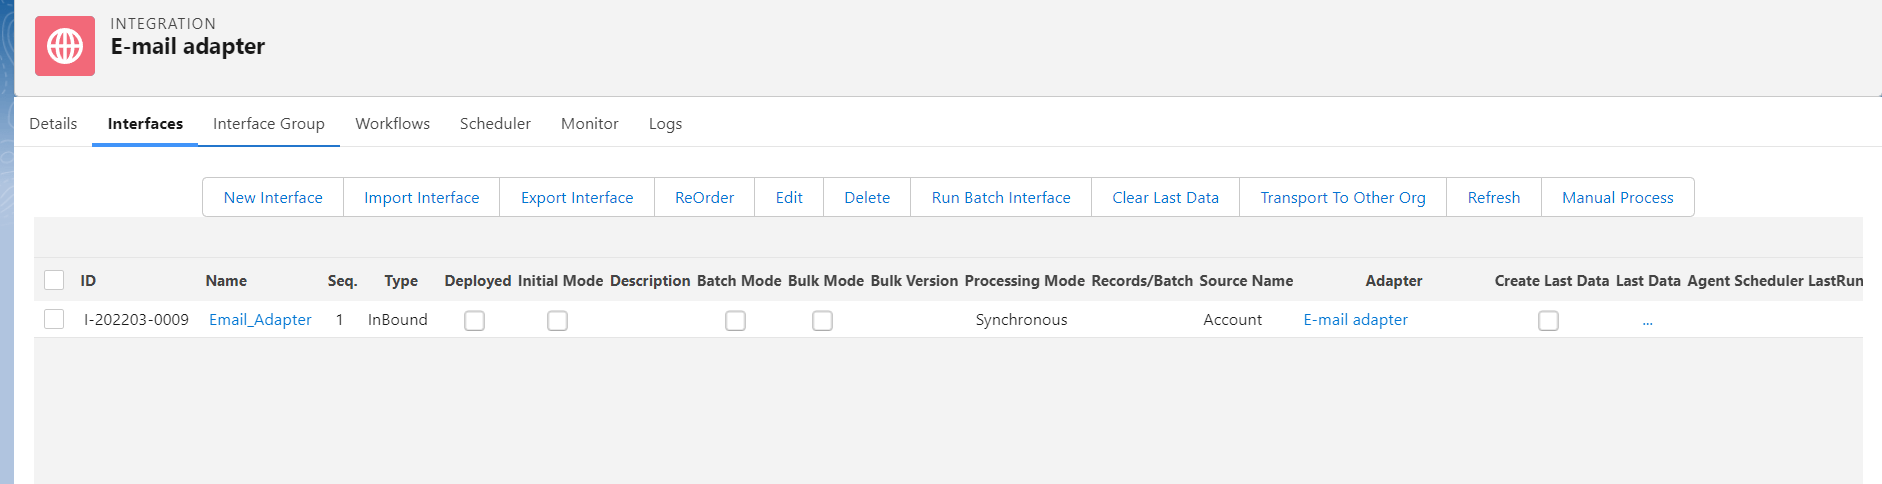
->Creating an Email adapter For this part, the explanation will be focus on the creating of email adapter. To create adapter you can follow the steps below:
- Click on the TAB “Adapter” than “New” and input the information in the require field:
->Editing on Interface You can enter your existing interface and do some editing by choosing adapter. E.g. Email Adapter.

Subject Line of your Email Accept the email address from salesforce.com by email. The subject line of the email should read as follows: integration=your_IntegrationID;interface=Name_of_the_Interface Note: Provide the IntegrationID and the name of the Interfaces. The IntegrationID is found in the URL of the actual Integration. When you are there, search for a 15-digit ID(id= ....)
- Attach the record that you want to import and send the email.

- E-mail address generated by Salesforce .
- Integration=your_IntegrationID;interface=Name_of_the_Interface.
- Record that you want to import (must be the same in structure implements our interface).
- In addition, send the email.